+86 13528941594
 yeda@fsftrim.com
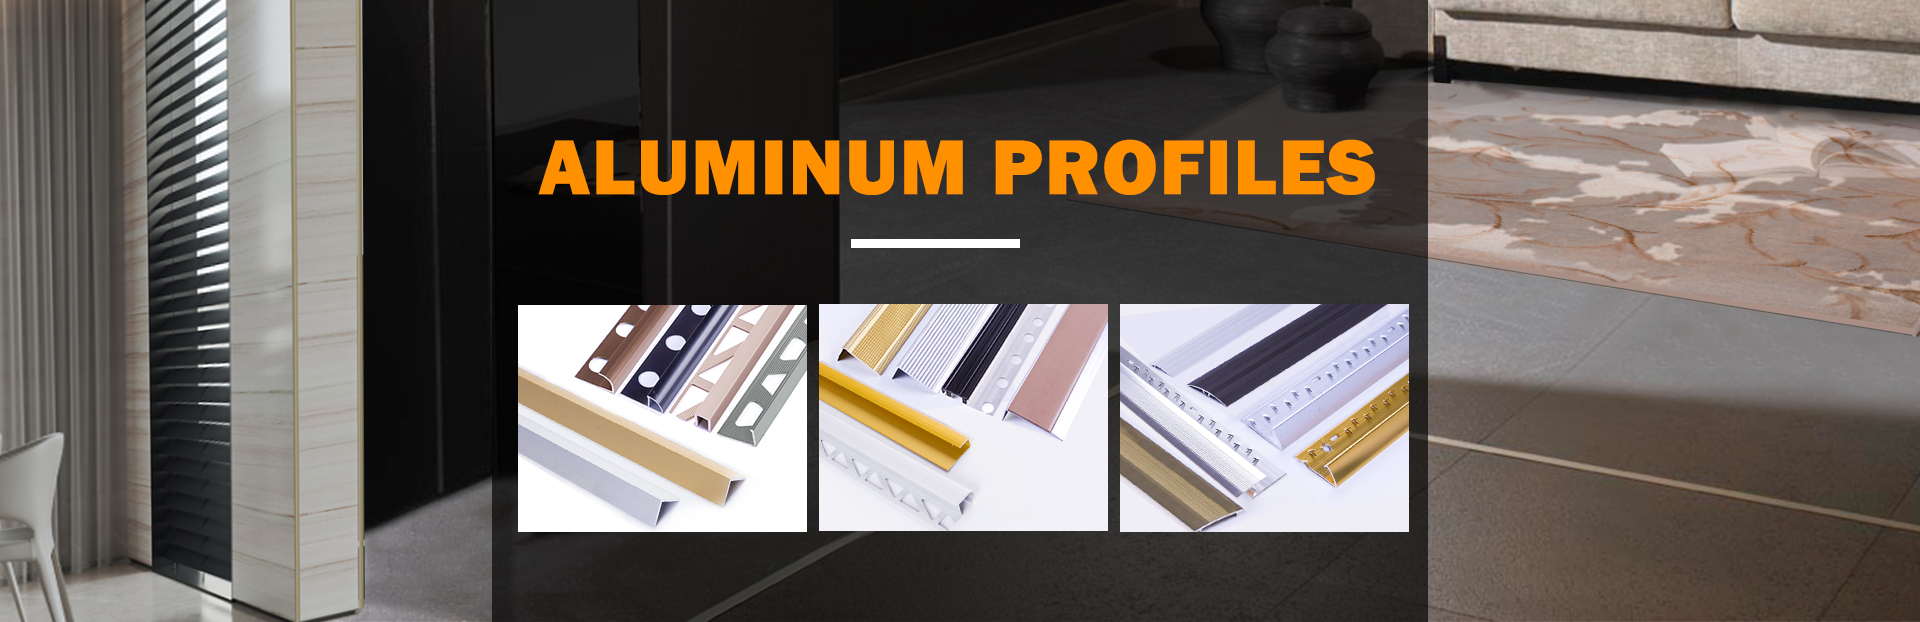


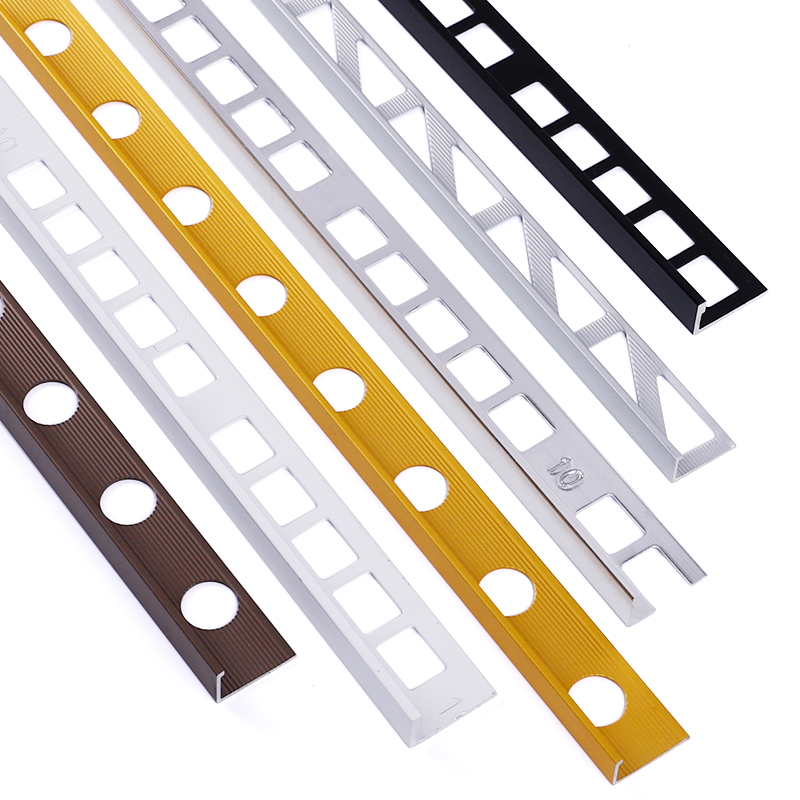
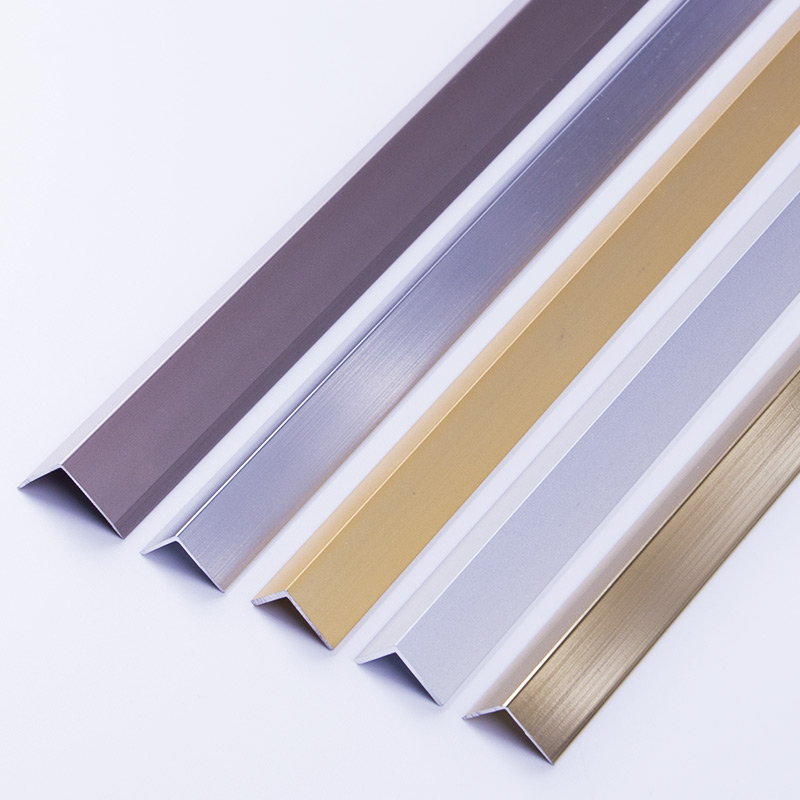
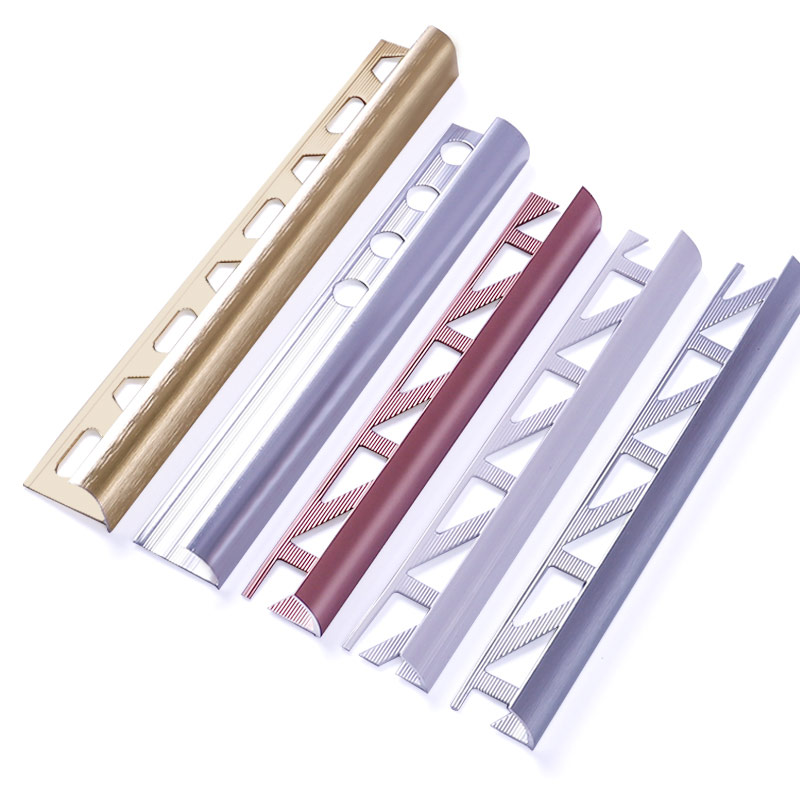
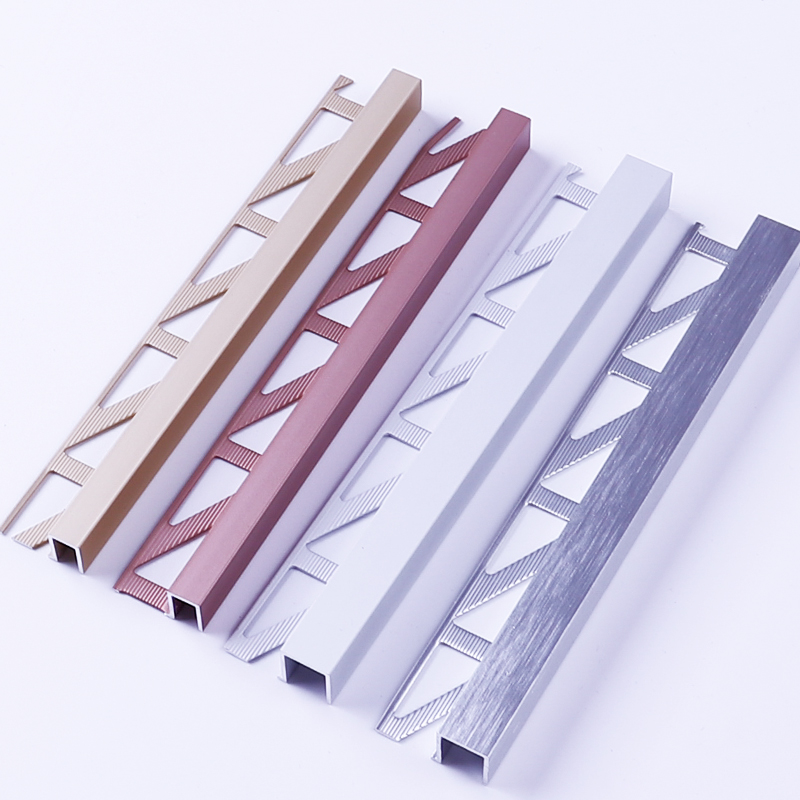
Tile ACCESSORIES&INSERT
Shape:Triangle Height: 15mm Length:33mm Punching Hole:None Surface Treatment:Powder coating
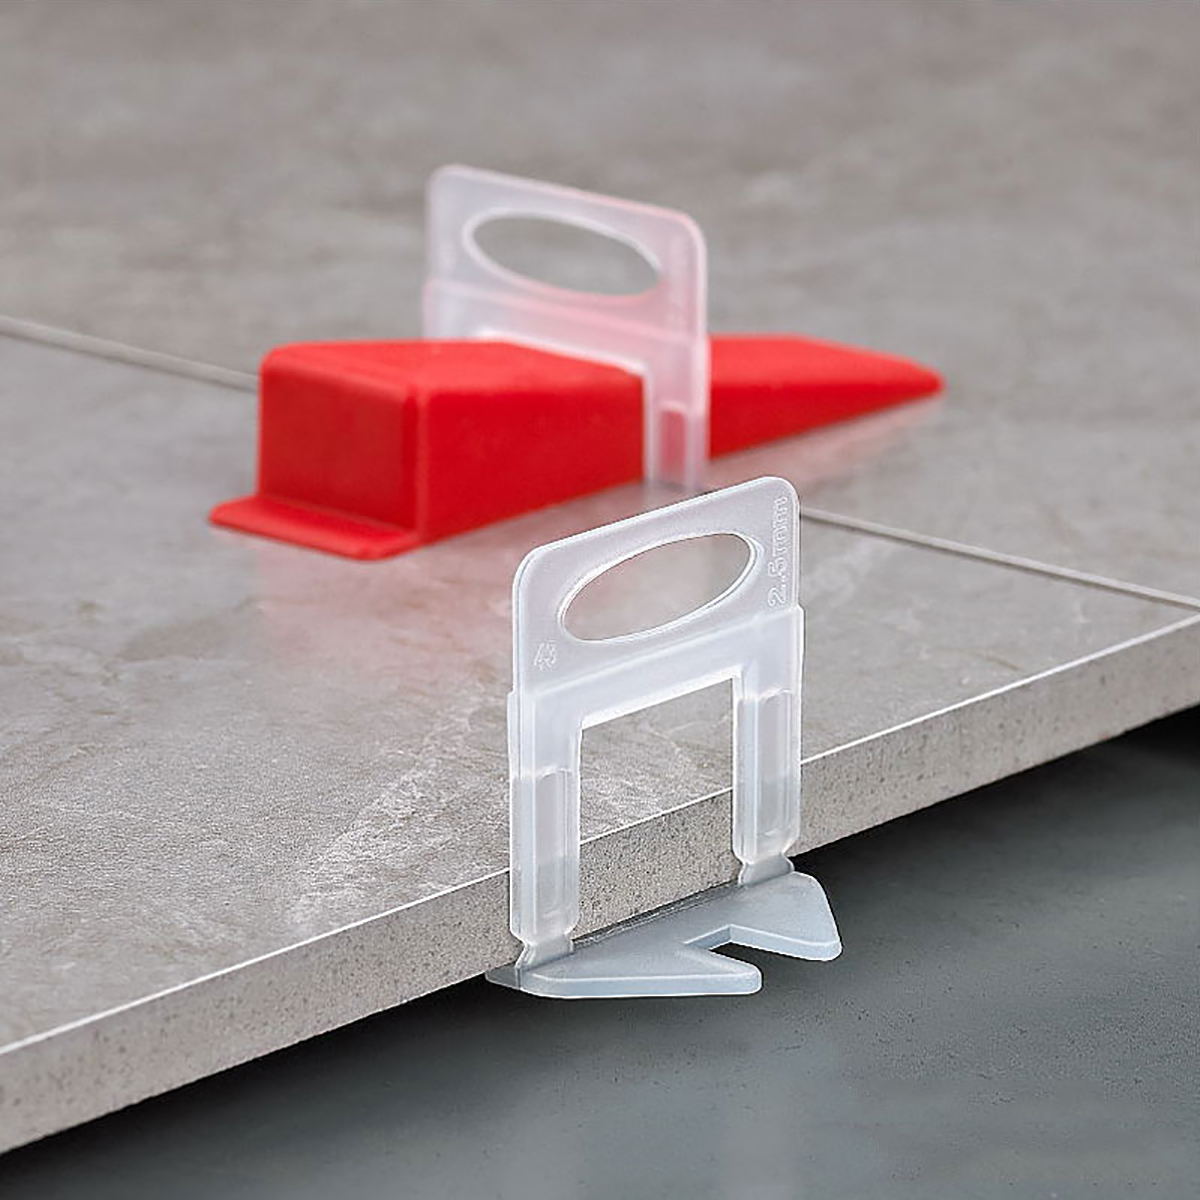
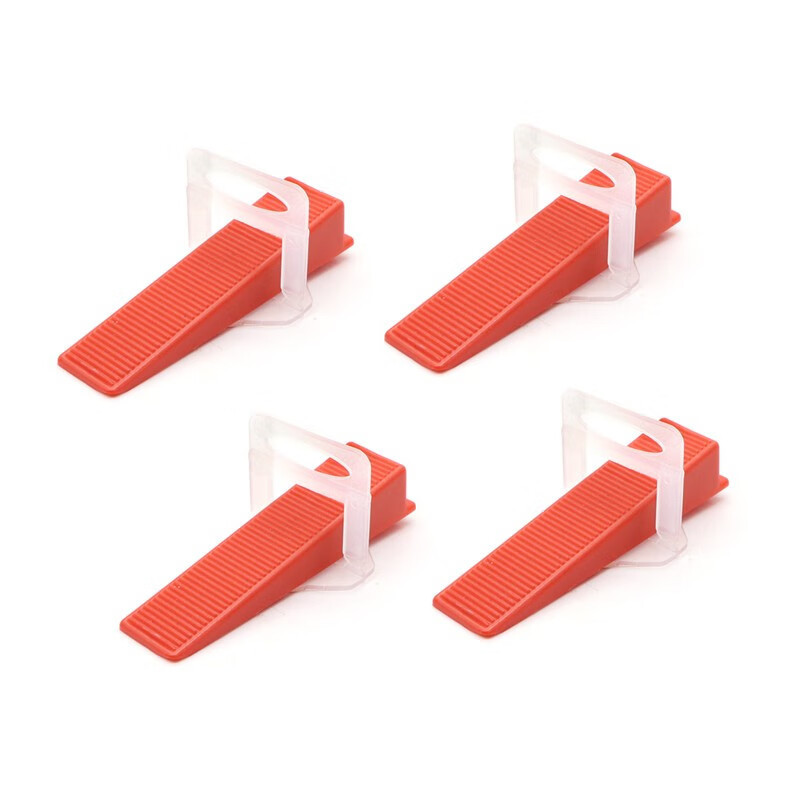
Professional Tile Leveling System: Upgraded tile leveling system kit help DIY and professional tilers to improve the efficiency of tile laying, prevent tiles from moving during the setting process, keep tiles in the same horizontal position, easy and convenient to operate and get a perfect, crack-free surface result, ideal for laying floor and wall tiles.

Product name | Tile Leveling System |
Color | Red/Yellow/Green |
Material | PP plastic |
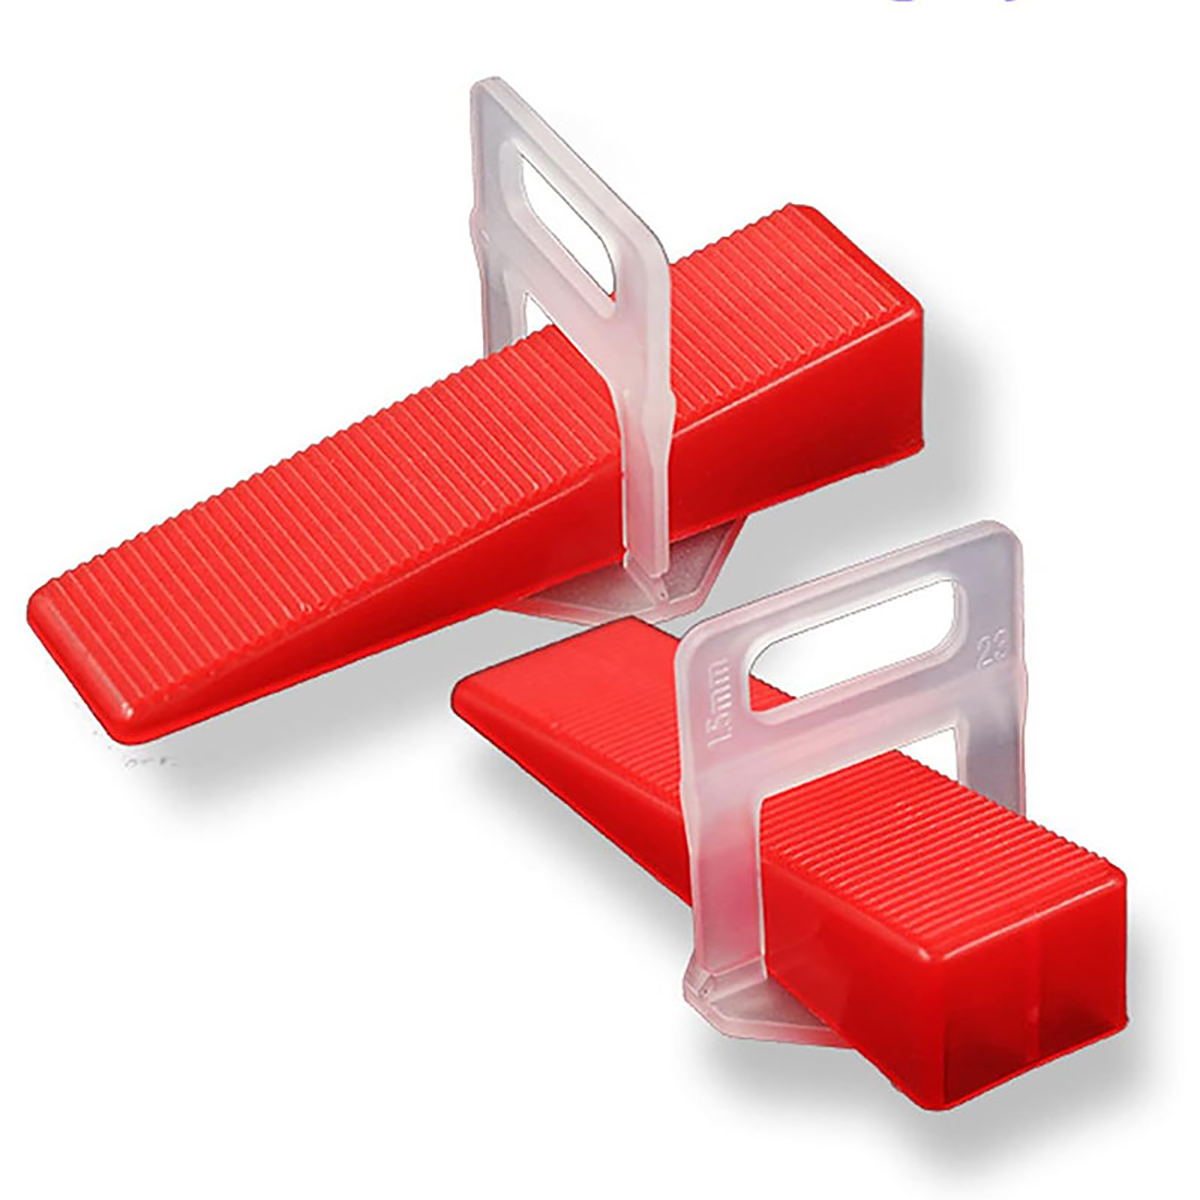
Thicknes | 0.5 / 1.0 / 1.5 / 2.0 / 2.5 / 3.0 / 5.0 / 8.0mm/ Customized |
| Package | 100pcs/bag |
Application | Ensuring the proper leveling of tiles, helps speed the tile setting |
| Sample | Provide free sample |

Easy Installation: 1/16 tile spacers leveling system helps DIY and professional tile layers increase the efficiency of laying tile. You can place a 1/8" tile leveling wedge onto the bottom of the tile, slide the wedge over the tile and mortar, and place the second tile. Then insert the leveling wedge and push firmly with tile pliers. For a tile setup with 4 clips and wedges, please wait more than 24 hours and kick out the tile leveling clips or use a rubber mallet.
Efficient & Beautiful:Experience efficiency and beauty with our Tile Leveling System. Whether you're a seasoned pro or a beginner, our system enhances tile laying efficiency, resulting in a flawless, lippage-free finish
Easy To Disassemble:Convenience meets efficiency with our Tile Leveling System. Say goodbye to tile movements during mortar setting and hello to flatness between tiles. Our high-quality PVC forged tile spacers ensure easy disassembly, preventing the hassle of incomplete removal
Convenient & Efficient: Achieve professional results effortlessly with our sturdy wedge design. Even novices can achieve professional-looking results with our user-friendly system. For optimal results, use 4 wedges per tile, or increase to 6 for larger tiles


How to use:
1. Place the base under the tile.
2. Use a level ruler and a rubber hammer to level it off.
3. Insert the plug.
4. Use pliers to push and tighten.
5. One tile with about 4 sets.
6. Knock or kick it off after 24 hours.


Note:
After the construction, it is necessary to timely clean the cement around the bottom of the flat finder in the tile joint. If the cement covers the base completely, and the cement dries, the base is not easy to disconnect from the bottom. If it is disconnected from the middle part, there will be part of the base remaining in the brick joint, and it is difficult to clean up, please pay attention to the use.
Tel